Friday 16 October 2015

ReFS and Exchange AutoReseed, what you need to know


There are a lot of articles out there at the moment talking about ReFS and using this file system with Exchange, highlighting where appropriate, the supportability of doing so. I love the fact people are blogging and getting this information out there.

I think it's a great technology and have been using it for some time for Exchange 2013 and also Exchange 2016. But rather than concentrate on what others have already posted. I thought I'd highlight another important area.

In this post I want to highlight what most people haven't – ReFS when using Exchange AutoReseed.

Let's take a look at two DAGs, using Get-DatabaseAvailabilityGroup. One is Exchange 2013 and the other Exchange 2016:


Fantastic. That doesn't tell us too much though.

Let's see what Autoreseed settings are present :


Fantastic. That still doesn't tell us much though about anything to do with the file system you are using for your Exchange databases.

Let's take a look at all Auto* settings:


Again we get more information, including FIPS and BitLocker information but this still doesn't show us that AutoReseed is clear about what file system is in use.

So let's sit back and think about AutoReseed. It will take a spare disk (RAID/JBOD) and format it and basically auto reseed the database that has just disappeared due to a failed disk in your Exchange Mailbox server.

It's a fantastic concept, although admittedly something that's used in larger Enterprise Organisations (and was no doubt conceived in Office 365).

So... You're using AutoReseed. You've made a decision to go with ReFS. So how does AutoReseed know what file system to format the disk in? Well that's down to DiskReclaimer. We can look at the following Technet Article for a breakdown of AutoReseed and DiskReclaimer:

'"AutoReseed" https://technet.microsoft.com/en-us/library/dn789209%28v=exchg.150%29.aspx'

DiskReclaimer is the part of the process that will allocate and format a disk ready for the reseed operation to take place. Let's take a look at all of those Auto* parameters again on our DAGs:


We can see we have DiskReclaimer enabled; -AutoDagDiskReclaimerEnabled is set to True, the default setting.

So whilst we can manually format our disks, we know that the AutoReseed process can do this for us.

So how does it know to format the disk in either NTFS or ReFS?

That's the job of the –FileSystem Parameter of Set-DatabaseAvailabilityGroup, which is sadly lacking in the Parameters section of:

'"Set-DatabaseAvailabilityGroup" https://technet.microsoft.com/en-us/library/dd297934%28v=exchg.150%29.aspx'
(I have reached out to Microsoft to get them to update this page).


Let's take a look:


We can see both DAGs are using NTFS, this is what DiskReclaimer will look to when formatting a disk for AutoReseed.

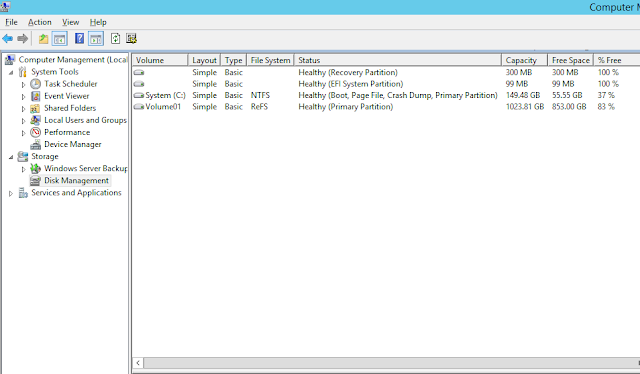
Let's look at the file system in use for the Exchange 2016 DAG databases on one of the Mailbox Servers:

We can see we are using ReFS.

Therefore we need to ensure the –FileSystem parameter for our Exchange 2016 DAG is set to use ReFS.

Let's update it.

Set-DatabaseAvailabilityGroup "your Exchange 2013 or 2016 DAG here" –FileSystem ReFS


We can now see that the Exchange 2016 DAG in question, which is using ReFS for its Exchange Database and Log disks, is set correctly. This will ensure AutoReseed formats any spares correctly in the event of failed disks.

What happens if this isn't set correctly? Of course it will still work, having some disks as NTFS and some as ReFS – but that's not exactly a great consistent platform to have, and this should be set as part of your Administrative ownership where AutoReseed is used.

You can of course deviate from the default setting and disable DiskReclaimer and format your drives manually – but where's the fun in that?


Oliver Moazzezi – MVP Exchange Server
Twitter: @Olivermoazzezi


Friday 9 October 2015

Apply Activesync Policies to Exchange Online Mailboxes synchronisation script

A few months back I published details of my On-Premise Activesync Mailbox Policy to Exchange Online synchronisation script (it's also available to download in the Technet Gallery).

This allowed you to simply and easily copy your existing Activesync policies to your Exchange Online tenant in Office 365 rather than having to setup them up again. This was always very useful in a perpetual Hybrid environment where co-existence may be ultimately permanent, or indeed if you're just simply migrating all users and removing your Exchange on premise presence.

I am pleased to announce the next release today, ApplyEASMailboxPolicy2EXO.ps1.

This script will take your on premise users Activesync Mailbox Policy that is assigned to them, and then apply the policy once the user has been moved in a Cutover, Staged, Hybrid or third party migration to Exchange Online.

It will also check to see if the user actually has Activesync enabled, if the user is disabled, it will disable it for their Exchange Online mailbox also.

This simplifies mobile device access in a Mobile First, Cloud First Office 365 engagement.


If you are performing a 'Cutover' migration, either natively or using third party tools (you are moving all mailboxes to Exchange Online at once) simply run the script. If this is more than 1000 users you can specify a higher setting with the –ResultSize switch parameter.

If you are performing a 'Staged' migration, or moving select mailboxes in a Hybrid state or indeed select mailboxes with a third party, then you can pipe a csv file with the users that have moved using the –Staged switch parameter.

I'll run you through both scenarios.


Cutover

So first of all let's look at the Activesync Mailbox Policy applied to the users on premise. We can see that each user has a specific policy and that infact 'New User 3' has Activesync disabled.

Let's look in Exchange Online as we have just performed a Cutover Migration – all users should have the Default policy applied and be enabled for Activesync.

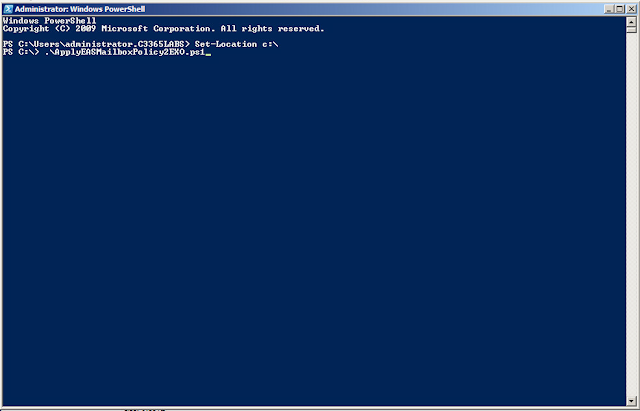
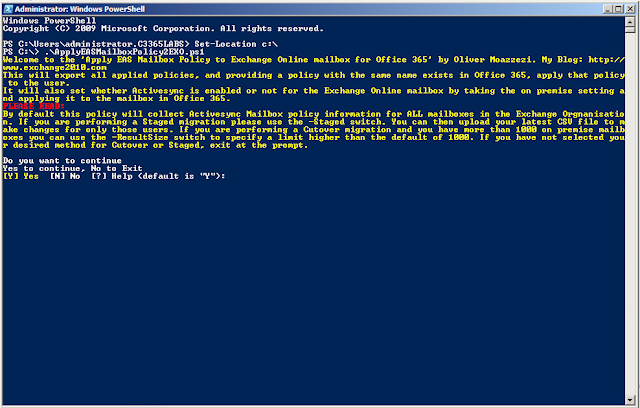
Ok so let's start running the script. We have already created the Activesync Mailbox Policies using my previous script here Open a PS window and run the PS1 script.


The accompanying text will explain the switches to you. As this is a Cutover (you have moved all users at once) we simply press Y to proceed.


It will now do two things. The first thing it will do is gather which Activesync Policy is applied to your on premise users. It will collate the information into a locally saved CSV file that will be created in the same location the PS1 file is run from.
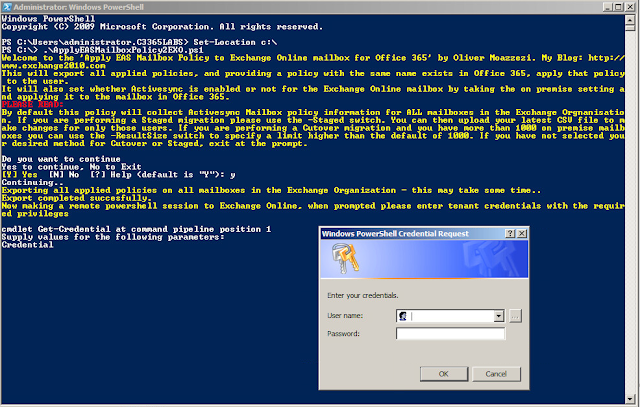
Once this has been collected it will then ask for your Office 365 tenants admin credentials. Enter an account that has the necessary Exchange permissions.


It will then import the configuration file, inform you of the total number of mailboxes to configure, and start configuring your Exchange Online mailboxes.
Once it has completed, it will inform you and then disconnect your Exchange Online PS session.

It will then inform you that you can then close the PS window.

So let's look at them in Exchange Online. Has the change been implemented? You bet!


Staged

So what happens if you aren't moving all mailboxes at once? For example a staged migration? Well you can input a CSV of the mailboxes you have moved into the script. Let's take a look.
Run the script with the –Staged parameter and specify your CSV.

Specify Yes to continue.

You will this time be asked for your Staged migration CSV file.

Enter your CSV path, note that you can enter multiples if you so wish, to finish simply press Enter without adding another CSV.

Once it has informed you it has ingested the CSV file it will then make a connection to Exchange Online. Enter your tenant admin credentials with relevant Exchange Online permissions.

It will now make the connection to Exchange Online and perform the necessary changes on those specific mailboxes. Note that this time it says there's only 2 mailboxes to change. That is because only 2 mailboxes were in my staged CSV file.


And that's it! All done!


You can download the script from Technet Gallery.

It has been tested with Exchange 2007, 2010, 2013 and 2016.


Enjoy and take care,

Oliver Moazzezi – MVP Exchange Server
Twitter: @Olivermoazzezi